Drywall Taping & Mudding in Wilmington, NC
Wilmington Elite Drywall provides expert drywall taping and mudding in Wilmington, NC with years of hands-on experience producing seamless, crack-free joints. We apply paper and mesh tape, build up multiple coats of joint compound, and feather every edge so your walls are perfectly smooth and ready for paint.
Whether you need taping and mudding for a new construction project, an addition, or a renovation, our finishers deliver flat, uniform surfaces that hold up over time. We serve Wilmington, Wrightsville Beach, Carolina Beach, Leland, Hampstead, and Porters Neck.
Get a Free EstimateDrywall Taping and Mudding That Prevents Future Problems
Taping and mudding is the most critical phase of any drywall project. Poorly embedded tape leads to bubbling and peeling. Insufficient coats of joint compound leave visible ridges under paint. Rushed sanding creates uneven surfaces that show every flaw once the primer goes on. Professional taping and mudding eliminates these issues at the source by using the right materials, proper technique, and enough drying time between coats to produce walls that stay smooth for decades.
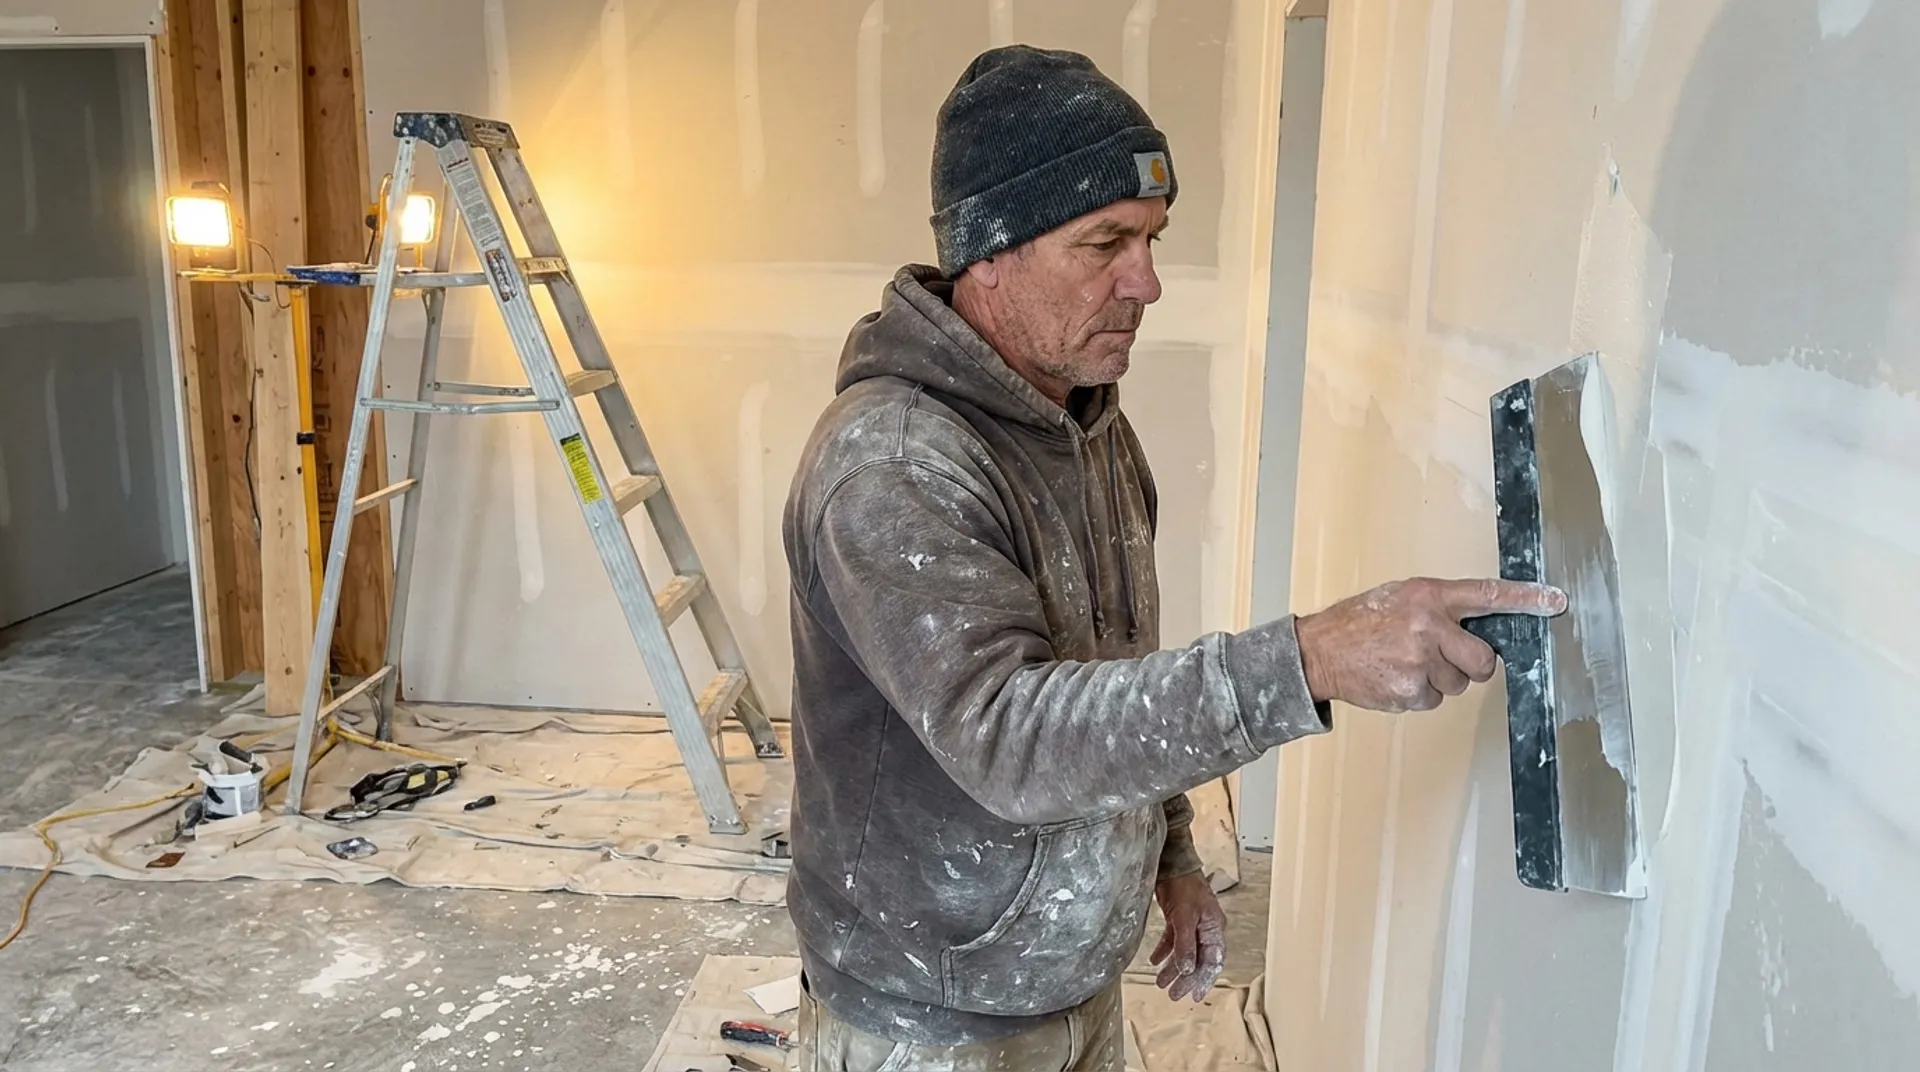
Paper Tape Application
Paper tape is the industry standard for flat seams and inside corners. We embed it into a thin bed coat of joint compound, pressing out air pockets and excess mud with a taping knife. Paper tape creates a strong, crease-resistant bond that resists cracking along joints, making it the preferred choice for long-term durability on new construction and renovation projects.
Mesh Tape for Repairs
Self-adhesive fiberglass mesh tape is ideal for patching cracks and reinforcing repairs. Its open weave allows joint compound to pass through and lock into the wall surface, creating a strong mechanical bond. We use mesh tape with setting-type compound for fast, solid repairs on existing drywall where speed and strength are priorities.
Multi-Coat Mud Application
Every joint receives a minimum of three coats of joint compound. The first coat embeds the tape. The second coat fills and builds the joint. The third coat feathers the edges wide and smooth. Each coat dries completely before the next is applied, and we sand lightly between coats to remove ridges and ensure a flat, consistent surface.

Feathering Technique for Invisible Seams
The difference between amateur and professional taping is visible the moment paint hits the wall. Our finishers feather joint compound outward in progressively wider passes, typically extending eight to twelve inches on each side of the seam. This gradual transition eliminates the raised ridge that shows through paint and creates a surface that is genuinely flat, not just filled.
We also pre-fill screw heads and set fasteners to the correct depth before taping begins. Screws driven too deep break the paper face and weaken the hold. Screws left proud create bumps that no amount of compound can hide. Getting fastener depth right is a small detail that prevents nail pops and surface imperfections months after the job is complete.
Taping and Mudding Process
Joint Preparation
We inspect every seam, corner, and fastener before taping begins. Loose screws are re-set, protruding edges are trimmed, and gaps wider than an eighth of an inch are pre-filled with setting compound. Proper preparation prevents tape from bridging over voids that can crack later.
First Coat Application
We spread a thin bed of all-purpose joint compound along the seam and press paper tape into it using a six-inch taping knife. The tape is embedded firmly with no air bubbles or dry spots underneath. Inside corners receive a folded tape strip set cleanly into the crease. Screw heads and outside corner beads receive their first fill coat at this stage.
Second and Third Coat Feathering
After the first coat dries, we apply a second coat with a wider knife, extending the compound several inches beyond the first pass. The third coat widens the joint further and feathers the edges to nothing. We use a twelve-inch finishing knife on the final coat to blend the transition so smoothly that the seam is undetectable under paint.
Final Sanding and Inspection
Once the final coat is fully dry, we sand every joint, corner, and fastener with fine-grit sanding screens. We check the surface under a raking light held at a low angle to reveal any ridges, tool marks, or low spots. Any imperfections are touched up and re-sanded until the surface is uniformly smooth and paint-ready.